
I had never made fruit leather before this summer. Prepackaged fruit leather from the store was such a rare luxury that I didn't indulge much because of the price. Now, while my fifth batch is dehydrating, I can say making it yourself is fun, easy, cheap, and delicious! And you can take pride in your homemade, good-for-you treats.
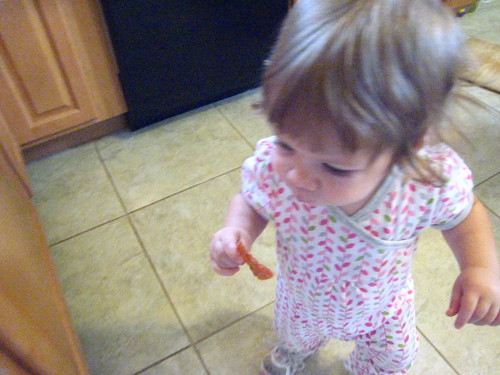 It's the perfect healthy snack for little ones!
I first got the idea to try making fruit leather from Barefoot Childhood. Though that post got me on the path to making homemade fruit leather, in the end I didn't follow those directions. I chose to boil my fruit before blending it to get the natural sweetness from the fruit, thus eliminating any added sugar. Trust me, they taste plenty sweet without the extra sugar (this coming from the lady who threw away her own birthday cake because it was too sweet!). I also chose to run a dehydrator to dry the fruit out as opposed to baking on low heat in the oven. If you want to add sugar and cook/dry out in the oven, then go ahead and click the link above!
INGREDIENTS
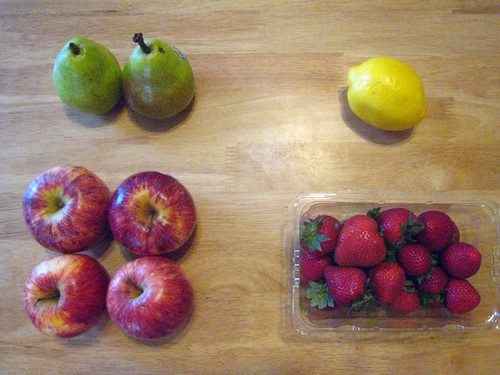 Four apples, two pears, one lemon, and a good dose of flavoring fruit (I've used boxes of strawberries, a bag of cherries, a couple peaches, and half a bag of seedless grapes. All turned out yummy).
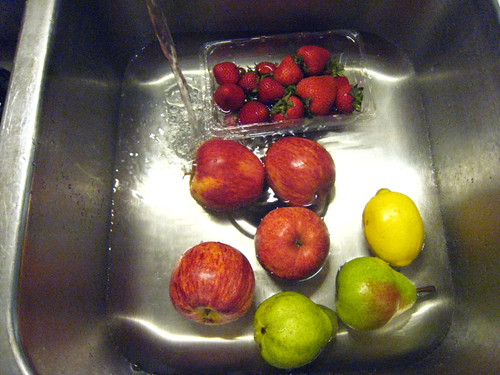 Rinse well.
DIRECTIONS
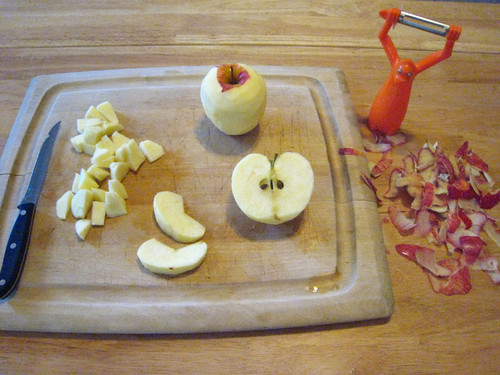 Prepare fruit to be cooked. Peel, core, and chunk apples and pears into small pieces.
 Toss apple and pear chunks into a large pot with 1/2 a cup of water (to help get things started) and the juice of half of the lemon. Boil uncovered on medium heat.
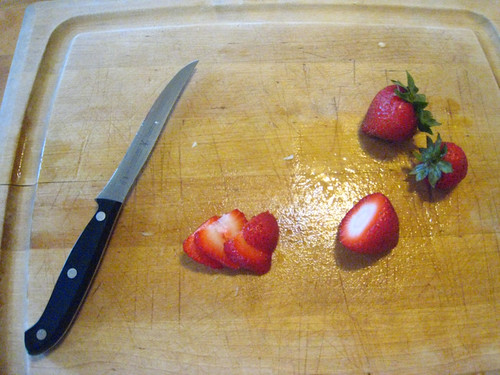 Prepare flavoring fruit to be cooked. (Strawberries get sliced, cherries I just ripped in half to get the stones out, peaches get peeled and broken into pieces, and grapes get plucked from the vine and popped between your fingers.)
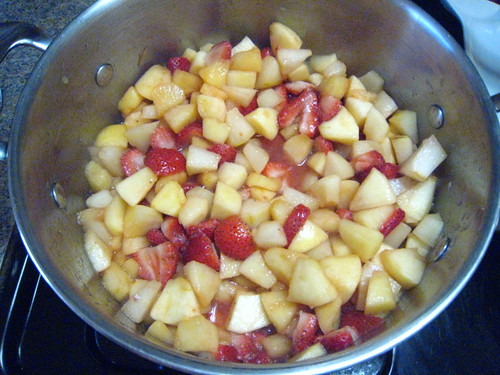 Toss flavoring fruit into the pot and boil down (still uncovered) about 20 minutes.
 When it looks something like this, it's done.
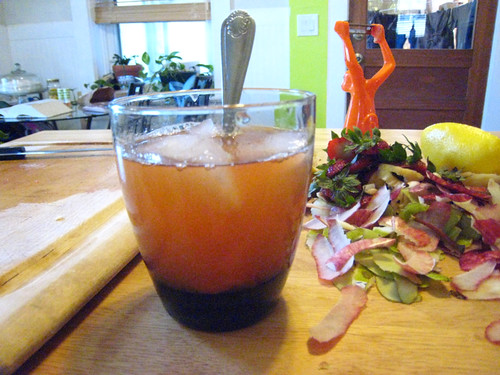 BONUS STEP: While you wait, you can squeeze the other lemon half into a cup, add a couple of spoonfuls of that delicious juice from the pot, and have some rockin' flavored lemonade!
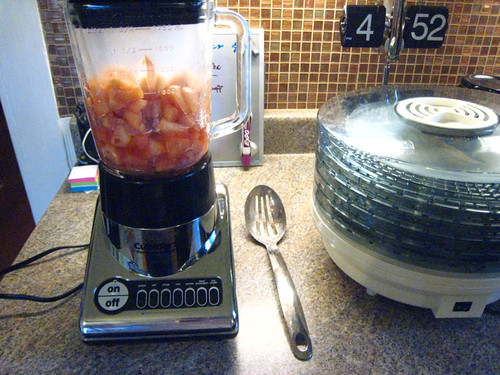 Blend.
 BONUS STEP: Feed the baby fresh applesauce.
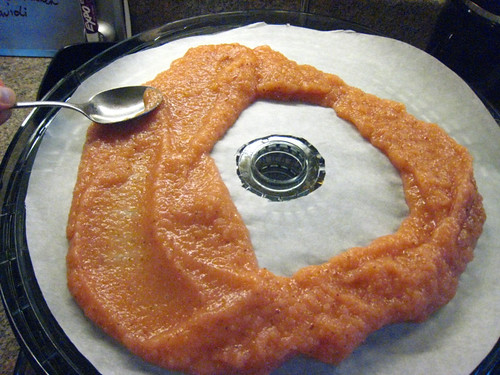 Pour sauce onto parchment paper cut to fit dehydrator trays, and spread in a thick layer with a spoon. (When I say "cut to fit" I mean Senpai traced the tray with a razor blade.)
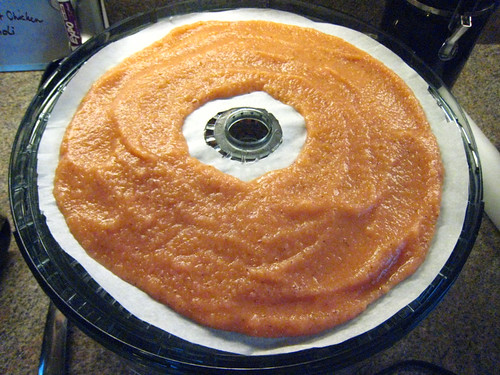
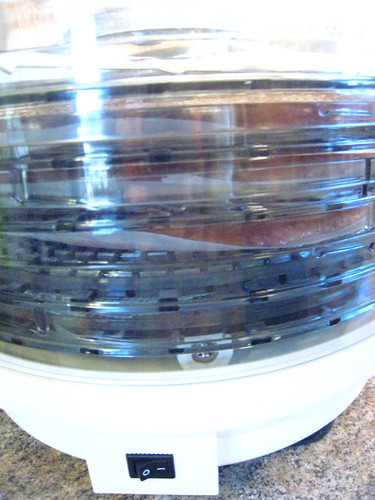
Dehydrate overnight.
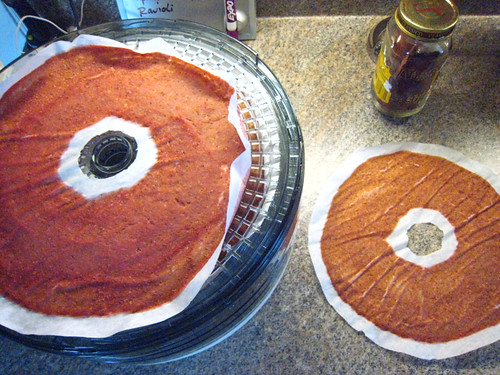 Check in the morning and then every couple of hours after that. Each tray will be done on its own time, usually the bottom layers dry completely before the top. I remove the empty trays to get the top trays closer to the heating element.
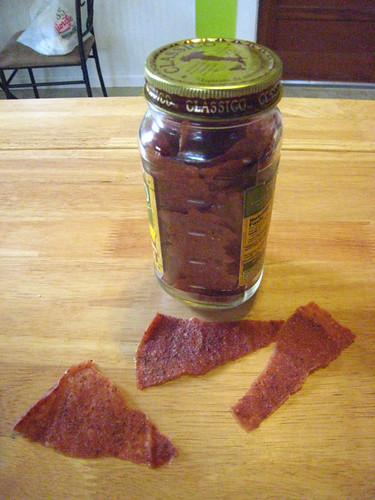
Peel leather away from the parchment paper, tear into strips, and store in a glass container on the counter. No need to refrigerate. I've heard that mold will eventually grow on fruit leather, but I haven't had that problem, I think because the dehydrator does such a good job of removing all liquid. I'd say your batch will last about two weeks, that is, if you don't eat them all first! ;-) We haven't made it past one week. :-P
One last thing: if you haven't guessed by now, this is a very flexible recipe. I've made it without the pears, and I've made it using the juice from the whole lemon. If you're really wondering how much flavoring fruit to add, the answer is, "How much have you got?" It's very hard to go wrong with fruit leather, so play around with the ingredients you have on hand.
Enjoy!

0 comments:
Post a Comment
Thank you for sharing your thoughts.